Hi there. In order to make your life easier, we created these articles to guide you trough the entire process of setting up and running our themes on WordPress websites.
Step 1 – Installing the WordPress
First of all, you need to install the latest version of WordPress on your server. Installing WordPress is a quite easy process, almost all hosting providers have implemented tools to automate this process. However, if you wish to install WordPress yourself, we recommend you to check this tutorial.
Step 2 – Downloading the Theme
Next, you have to download the theme from the ThemeForest Downloads page. If you have not bought yet the theme, then you can get it from here.
Step 3 – Installing the Theme
Follow these steps to install the theme:
- Extract the archive package
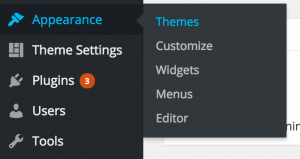
- In your WordPress dashboard (admin panel), go to Appearance -> Themes:

- Select the ‘Add new’ tab in the top panel:

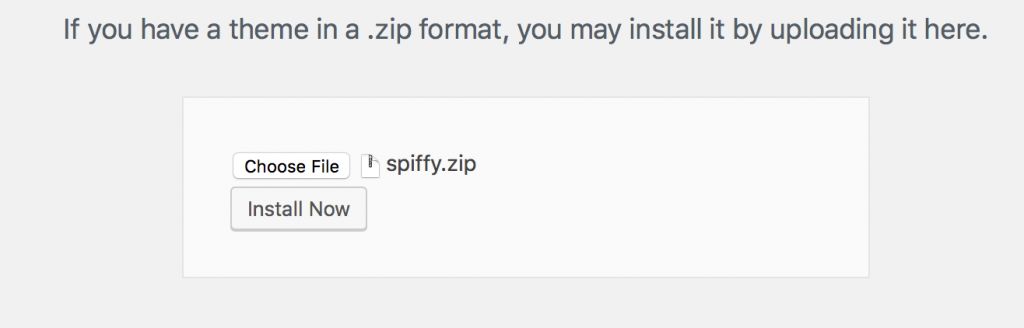
- Choose the ‘Upload theme’ button and upload the spiffy.zip file from your extracted theme package folder and click the ‘Install Now’ button:

Step 4 – Installing the Jetpack Plugin
Jetpack is a wonderful plugin build by WordPress team, Automattic. It keeps your website secure and helps to increase your website traffic, provides a lot of functionalities such as image galleries, free CDN, backup, stats, social sharing and more. Spiffy theme is fully compatible with Jetpack plugin, so we recommend you to install it and authorize your website to connect with WordPress.com
– – –
Now, you can go next to “Activating the Theme” step and move forward to “place the pixels” to your website.