The LSCF is not only a WordPress Advanced Filtering Plugin but also a Custom Posts managing plugin.
To create a new WordPress Custom Post Type follow the steps described below:
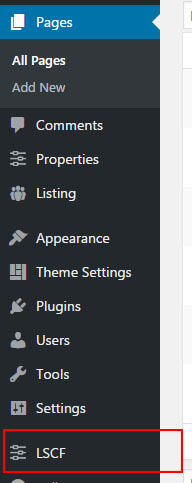
- From WordPress sidebar menu go to LSCF plugin page.
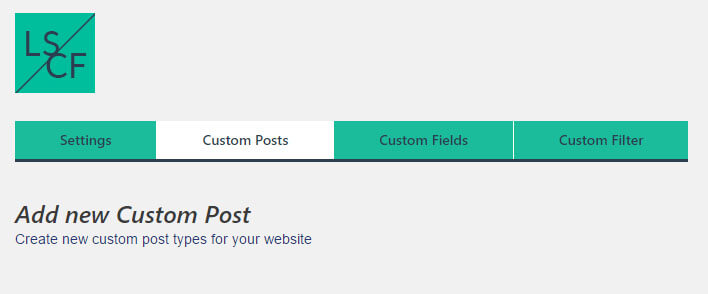
- Go to Custom Posts tab from LSCF menu.

- From Custom Posts tab find the box “Custom Post Name” and write your new Custom Post Type name.
Then click “Create new Custom Post” button.
As an example, we have chosen to build a Real Estate Filter, so we are going to create a Custom Post named “Properties”.
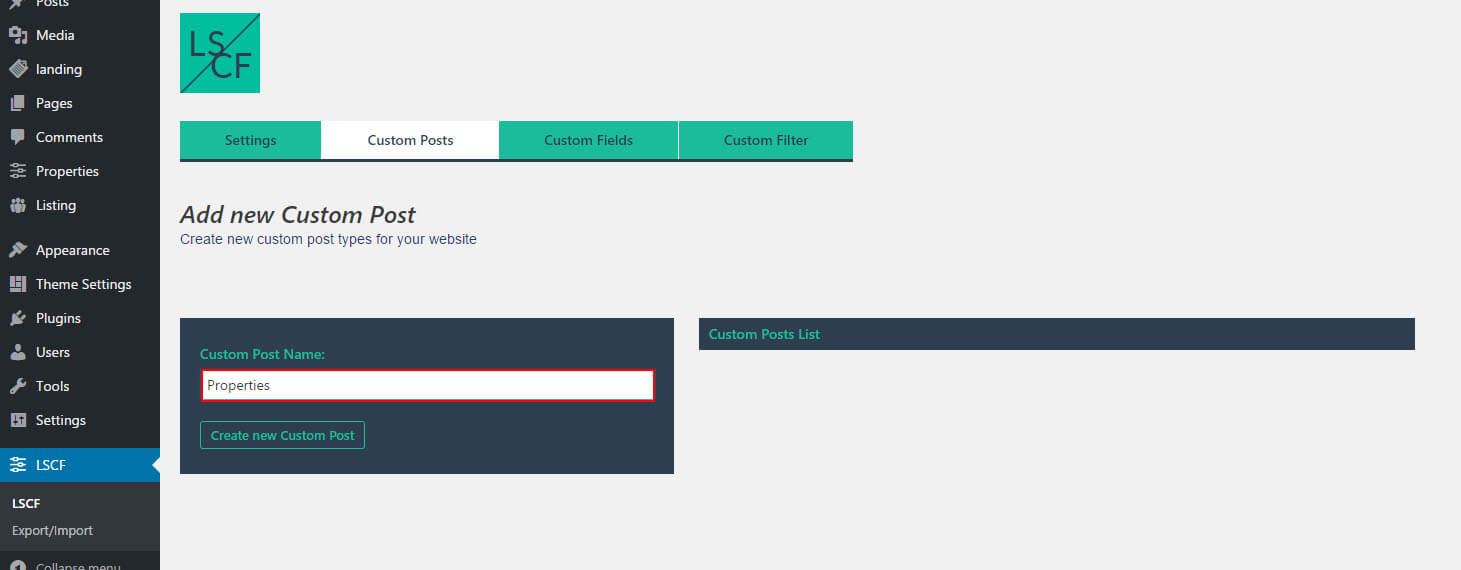

- Now you should be able to see your newly created custom post type in the right list Custom Posts List (see the screenshot from below).
Al, o the new created Custom Post should be visible from now in WordPress sidebar menu.


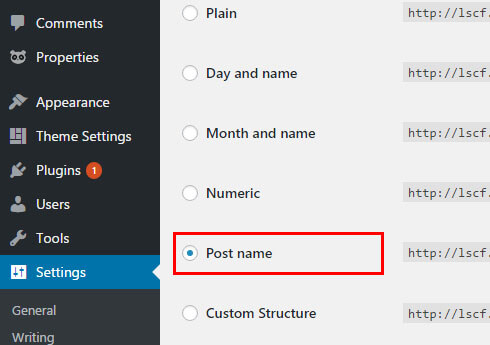
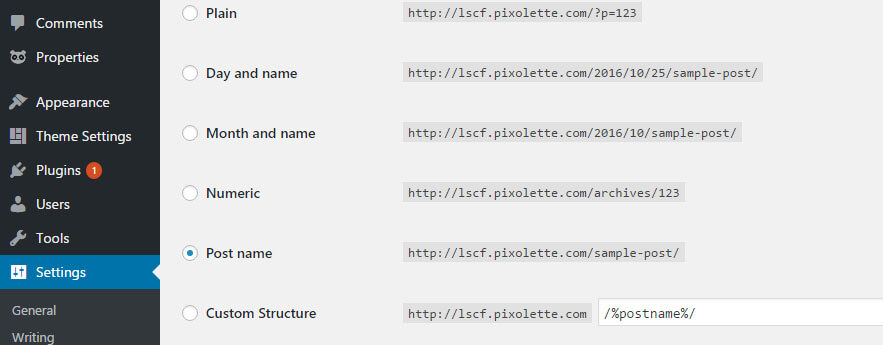
NB: Every time when you create a new Custom Post type, it’s very important to reset your permalinks!
Clicking on post link you may get 404 in case if the permalinks are not reset.
To reset your permalink go to: Settings->Permalinks

First, remember your initial settings of permalinks, so you’ll need to switch back to it ( in our example we have the permalinks set to “Post Name” ).
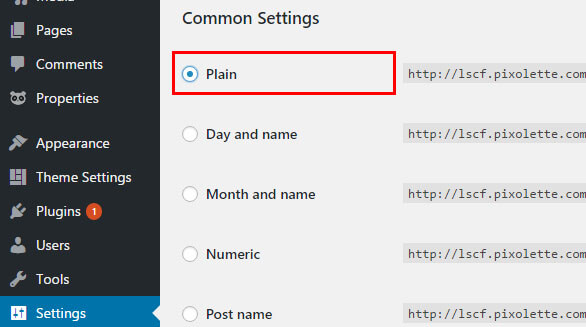
Switch the permalinks to Plain and then click Save Changes
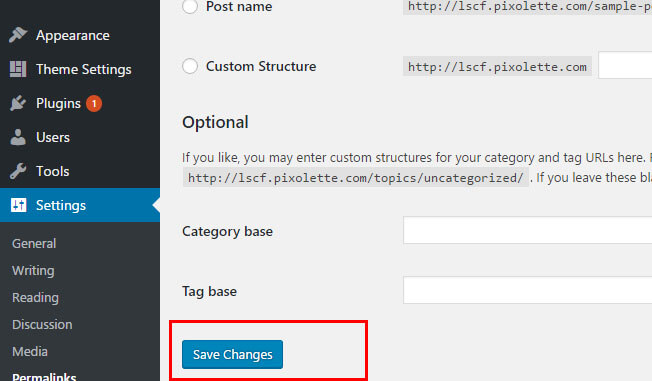
Then switch back the permalinks to your initial option(the option that we asked you to remember
In our example, it would be “Post Name”).
Then click Save Changes again.